
Introduction
Making homemade bread is a timeless craft that fills your kitchen with comforting aromas and rewards you with delicious, freshly baked loaves. Whether you’re an experienced baker or just starting out, mastering the art of bread-making can be a deeply satisfying experience. In this guide, we’ll walk you through every step of the process, from choosing ingredients to troubleshooting common issues.
If you’re looking for even more tips on making great bread, be sure to check out https://me-encantas.com/2021/05/18/5-consejos-para-hacer-el-mejor-pan for expert advice.
The Basics of Bread Making
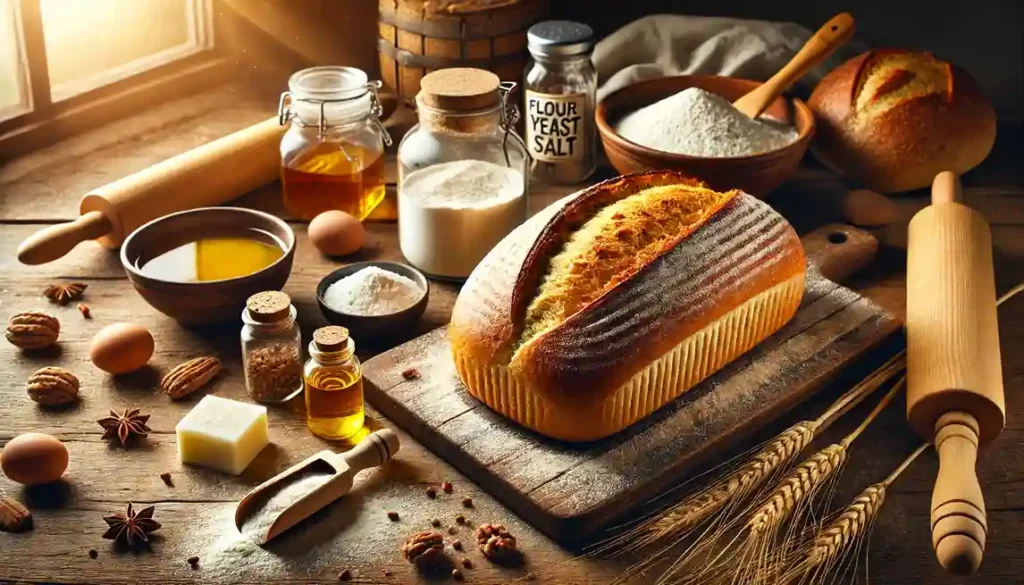
Making bread is simple at its core—just a mixture of flour, water, yeast, and salt. However, the process involves several steps that each play an important role in the final product. To get started, you’ll want to gather your basic ingredients and follow a reliable recipe.
For more guidance on perfecting your bread, the tips from https://me-encantas.com/2021/05/18/5-consejos-para-hacer-el-mejor-pan will help you refine your technique.
Choosing the Right Ingredients
The quality of your ingredients significantly impacts the final flavor and texture of your bread. Start by using fresh flour, active yeast, and filtered water. You can also experiment with different types of flour, like whole wheat or rye, to add depth to your bread.
For more in-depth advice on choosing ingredients and getting the most out of them, take a look at https://me-encantas.com/2021/05/18/5-consejos-para-hacer-el-mejor-pan.
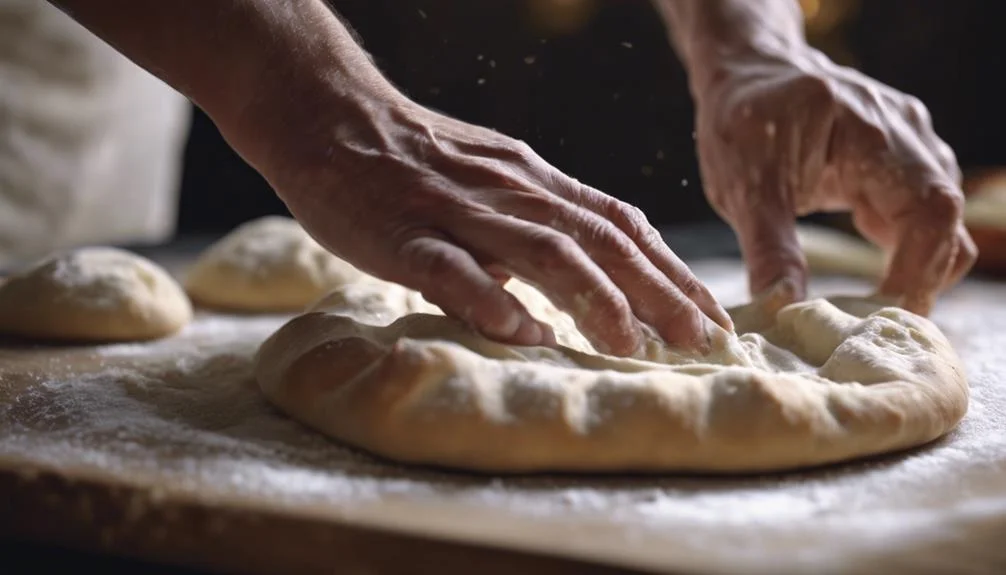
Kneading and Fermenting: Building Structure
Kneading helps to develop the gluten structure in your dough, which is essential for trapping air and giving bread its chewy texture. Once you’ve kneaded your dough, let it rise in a warm, draft-free environment.
Following tips like those found in https://me-encantas.com/2021/05/18/5-consejos-para-hacer-el-mejor-pan can help you understand the importance of this step and how to perfect it.
Shaping and Baking: From Dough to Loaf
Once the dough has risen, it’s time to shape it and get it ready for the oven. Whether you’re making a simple round loaf, a baguette, or something more intricate, proper shaping helps your bread rise evenly in the oven.
You can find more advanced shaping and baking techniques at https://me-encantas.com/2021/05/18/5-consejos-para-hacer-el-mejor-pan, where you’ll learn how to enhance the appearance and texture of your bread.
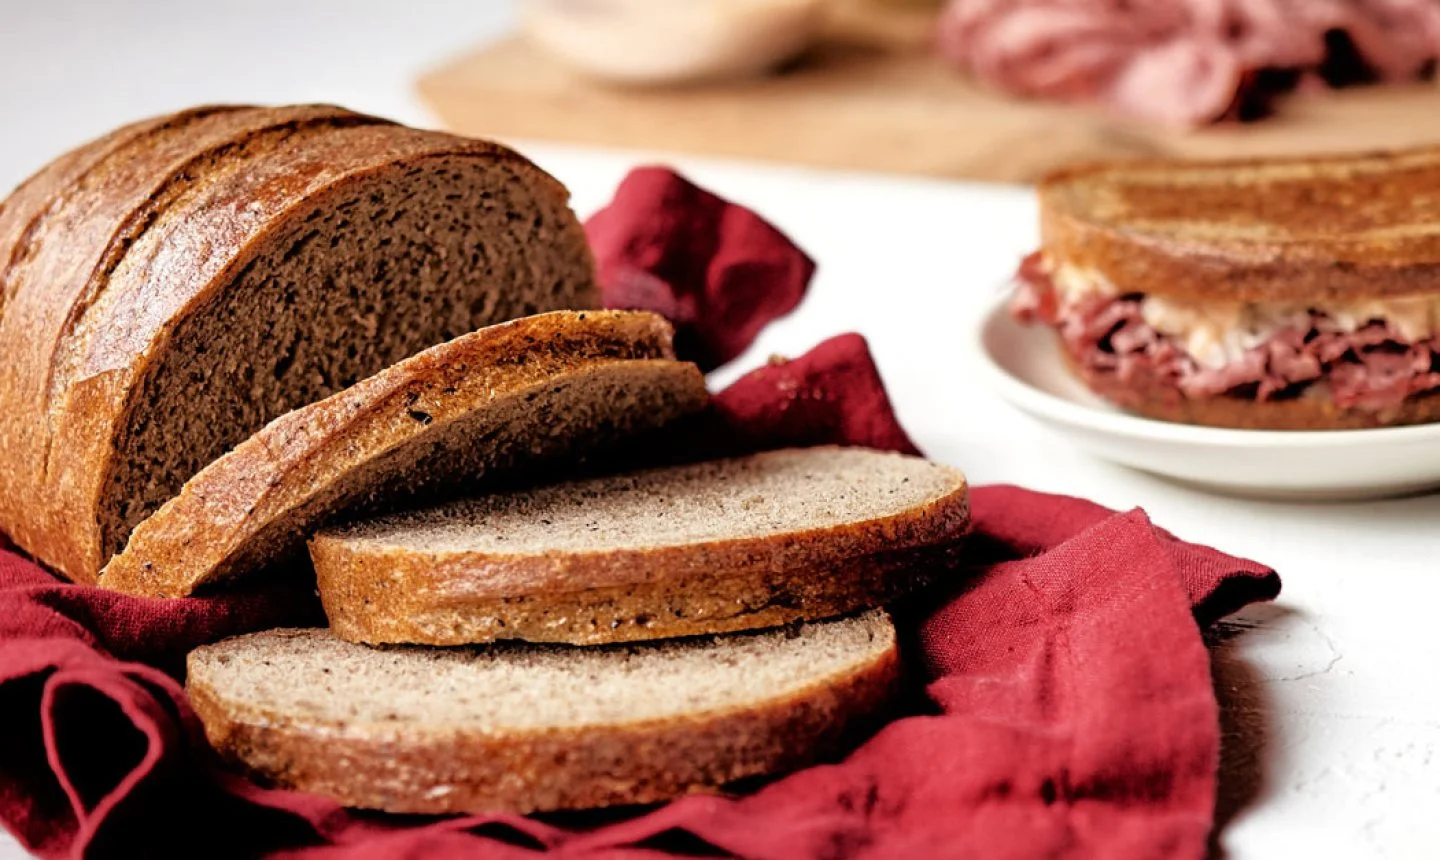
Cooling and Storing: Preserving the Freshness
After your bread has finished baking, let it cool on a wire rack to maintain its structure and avoid a soggy bottom. Proper storage, like using cloth bags or freezing for long-term use, ensures your bread stays fresh for longer.
For additional tips on how to store your bread to keep it fresh and delicious, refer to https://me-encantas.com/2021/05/18/5-consejos-para-hacer-el-mejor-pan.
Cooling: The Final Touch
Once your bread has been baked to perfection, resist the urge to slice into it immediately. Bread continues to “bake” internally for a short while after being removed from the oven. Placing it on a wire rack for proper air circulation is crucial, allowing it to cool for at least 1 hour. This cooling period allows the crumb (the soft interior) to fully set and prevents it from becoming gummy. Cutting into a hot loaf can result in a dense or doughy texture, so patience is key.
Storing Your Bread
Storing your homemade bread correctly can extend its shelf life and preserve its freshness. However, the crusty artisan loaves you bake at home don’t contain preservatives like store-bought bread, so they will naturally dry out faster. Here are the best methods for storing:
At Room Temperature:
If you plan to consume the bread within 2-3 days, storing it at room temperature in a paper or cloth bag is ideal for maintaining its crisp crust and chewy interior. Avoid plastic bags, as they trap moisture, making the crust soft and soggy.
Freezing Bread:
For longer storage, bread can be frozen for up to three months. To freeze, slice the bread first, wrap it in plastic wrap or aluminum foil, and place it in a resealable plastic freezer bag. When you’re ready to enjoy it, take out individual slices and pop them in the toaster or oven to refresh the flavor and texture.
Refreshing Stale Bread:
If your bread has gone stale, you can bring it back to life by wrapping it in a damp towel and warming it in the oven at 300°F for 10-15 minutes. This method rehydrates the bread, restoring its crusty exterior and soft interior.
Read More Article : https://noticviralweb.blogspot.com/2024/04/marcas–tv-2024.html : The Ultimate Guide to Choosing the Best See More..
Troubleshooting Common Bread-Making Issues
Even with careful preparation, bread-making can present a few challenges. But don’t worry—understanding common issues and how to resolve them will set you up for success. Here are some common problems bakers face and their solutions:
Bread is Too Dense
A dense loaf often results from under-proofing (not allowing the dough to rise long enough) or insufficient gluten development during kneading.
Solution:
Ensure the dough is kneaded thoroughly until it passes the “windowpane test”—a small piece of dough should stretch into a thin, translucent membrane without tearing. Also, allow enough time for the dough to rise until it doubles in size during the first fermentation.
Flat or Spreading Loaves
Flat or spreading bread is often caused by over-proofing, where the dough rises too long and the gluten structure weakens, causing it to collapse during baking.
Solution:
Pay close attention to the dough during the final rise. A simple poke test can help—press your finger gently into the dough; if the indentation springs back slowly, it’s ready to bake. If it collapses immediately or feels too loose, it’s over-proofed.
Crust is Too Hard or Thick
A thick, hard crust can be caused by baking at too high a temperature or by over-baking.
Solution:
Use an oven thermometer to ensure the correct temperature, as home ovens can often run hotter than indicated. Also, cover the bread loosely with aluminum foil during the last 10 minutes of baking if it seems to be browning too quickly.
Dough is Too Sticky
If the dough is excessively sticky and difficult to handle, it may be due to the flour’s hydration level or improper flour measurement.
Solution:
Add flour gradually as you knead the dough, but be cautious not to add too much, as this can make the bread dry. Alternatively, allow the dough to rest for 10 minutes between kneading sessions to let the flour absorb the moisture.
Advanced Techniques for Artisan Bread
For those looking to elevate their bread-making skills, experimenting with advanced techniques can add complexity and flavor to your bread. These techniques may require more patience and attention to detail but are well worth the effort.
Sourdough:
A Timeless Classic
Sourdough bread is made using a naturally fermented starter, which captures wild yeast and bacteria from the environment. The starter replaces commercial yeast, resulting in a loaf with a unique tangy flavor and chewy texture.
Creating a Starter:
A sourdough starter is simply a mixture of flour and water that ferments over time, becoming a bubbly, living culture. It takes about 5-7 days to create a starter, feeding it daily with fresh flour and water.
Maintaining the Starter:
Once your starter is active, it can be stored in the refrigerator and fed weekly to keep it alive. Before baking, allow the starter to come to room temperature and become active (bubbly and rising) before incorporating it into your dough.
Long Fermentation:
Sourdough’s long fermentation process enhances its flavor and texture. After mixing the dough, it can be refrigerated for up to 24 hours for slow fermentation, resulting in a more flavorful loaf.
Baguettes: The French Artisan Method
The iconic baguette is known for its crispy crust and airy crumb. While the ingredients are simple, perfecting the baguette’s shape, texture, and flavor requires technique.
Shaping:
Proper shaping is essential to achieving the traditional long, slender form of a baguette. After the first rise, the dough is divided, gently flattened, and then rolled into cylinders. Careful folding and rolling create surface tension, which helps the dough hold its shape during the second rise.
Scoring:
Scoring (slashing) the dough with a sharp blade before baking allows the bread to expand properly and creates the signature baguette design.
Poolish or Preferments: Boosting Flavor
Preferments like poolish are used to boost the flavor and texture of bread. A poolish is a mixture of flour, water, and a small amount of yeast that is fermented for 12-16 hours before being added to the final dough.
How It Works:
The long fermentation of the poolish develops more complex flavors in the dough, and it improves the bread’s texture by strengthening the gluten structure.
Using a Preferment:
Once the poolish is bubbly and fragrant, it is mixed with the remaining ingredients for the final dough. This technique is often used in French bread like baguettes and other artisan loaves.
Embracing the Creative Side of Bread Making
Once you’ve mastered the basics of bread making, it’s time to unleash your creativity. Bread making allows for endless experimentation and personalization. Here are some ways to customize your bread and explore different styles.
Flavored Breads
Add-ins like garlic, rosemary, olives, cheese, or dried fruit can take your bread to the next level. Infusing the dough with these ingredients adds complexity and makes for a delicious twist on traditional loaves.
Herb and Garlic Bread:
Add minced garlic and fresh herbs like rosemary or thyme to your dough for a fragrant, savory loaf.
Cheese Bread:
Fold in grated cheddar, Parmesan, or Gruyère for a cheesy, flavorful bread that pairs well with soups and salads.
Sweet Breads:
For a sweeter take, add cinnamon, raisins, dried cranberries, or even chocolate chips to create a dessert-like bread that’s perfect for breakfast or snacking.
Shaping and Presentation
The shape of your bread can make it more visually appealing and unique. Consider trying out different forms, from braided loaves to decorative scoring patterns.
Challah:
A traditional Jewish bread, challah is braided and often topped with sesame or poppy seeds. It’s soft, slightly sweet, and perfect for special occasions.
Fougasse:
A rustic French bread, fougasse is shaped to resemble an ear of wheat and often flavored with herbs and olives. Its decorative shape makes it a show-stopping centerpiece for any table.
Stuffed Breads
Stuffing bread with savory or sweet fillings adds an element of surprise. For example:
Savory Stuffed Bread:
Fill the dough with ingredients like spinach and feta, pepperoni and cheese, or caramelized onions for a delicious, self-contained meal.
Sweet Stuffed Bread:
Incorporate fillings like Nutella, fruit preserves, or cinnamon sugar for a delightful treat that’s perfect for brunch or dessert.
The Joy of Sharing Homemade Bread
Bread has always been a symbol of community, nourishment, and sharing. Baking bread at home allows you to connect with this ancient tradition and share the fruits of your labor with others. Whether it’s a loaf gifted to a neighbor, served at a family gathering, or enjoyed at a dinner party, homemade bread has the power to bring people together.
Sharing your bread-making journey with friends and family can be incredibly rewarding. Not only are you offering a delicious homemade product, but you’re also sharing the time, effort, and love that goes into each loaf. For many, baking bread becomes a form of therapy, a creative outlet, and a way to slow down and enjoy life’s simple pleasures.
Conclusion: The Art of Bread Making as a Lifelong Skill
The process of making homemade bread, from selecting the ingredients to slicing into a freshly baked loaf, is deeply satisfying. It’s an art form that requires patience, practice, and a willingness to experiment. But with the right knowledge and a bit of perseverance, anyone can become a skilled bread maker.
Bread making is not just about following a recipe—it’s about understanding the science behind each step and being adaptable to different ingredients and conditions. Whether you’re adjusting to the humidity in your kitchen, experimenting with sourdough starters, or learning how to shape different types of loaves, bread making is a lifelong skill that grows with experience.
For those just starting, mastering the basics is key. Begin with simple recipes that focus on fundamental techniques, like kneading, fermenting, and shaping. As you grow more confident, you can expand your repertoire to include more complex breads, such as baguettes, ciabatta, or enriched doughs like brioche.
For experienced bakers, bread making becomes a canvas for creativity. You can play around with different flours, incorporate seeds, nuts, or herbs into your dough, or experiment with wild yeast for naturally leavened bread. The possibilities are truly endless, and the only limit is your imagination.
While the path to becoming a bread master might involve a few mishaps—over-proofed dough, burnt crusts, or dense loaves—each mistake teaches you something valuable. Over time, you’ll develop an intuitive sense of when your dough is ready, how to adjust for environmental factors, and how to troubleshoot common issues like under-proofing or poor rise.
Bread making is also about community. Sharing your homemade bread with friends and family fosters a sense of connection. And as you improve, you may find yourself passing on the knowledge to others, helping them discover the joy of bread making as well.
Finally, remember that learning is an ongoing process. No matter how skilled you become, there’s always more to explore and improve. Whether you’re a beginner looking to bake your first loaf or an experienced baker eager to explore new techniques, bread-making offers endless possibilities.
To deepen your understanding and further hone your skills, be sure to explore resources like https://me-encantas.com/2021/05/18/5-consejos-para-hacer-el-mejor-pan). Embrace the learning process, enjoy the journey, and don’t be afraid to make mistakes. Each loaf you bake will bring you one step closer to mastering this timeless craft.
Happy baking!
FAQS
1. What are the essential ingredients for making homemade bread?
The key ingredients for homemade bread include flour, water, yeast, salt, and sometimes sugar or oil, depending on the recipe. Variations can be made by adding seeds, herbs, or other flavor enhancers.
2. How can I make my bread soft and fluffy?
To achieve soft and fluffy bread, ensure proper kneading to develop the gluten and allow sufficient time for the dough to rise. Adding fats like butter or oil can also improve texture.
3. Why is my bread dense and heavy?
Dense bread can result from insufficient kneading, not letting the dough rise properly, or using too much flour. Make sure to follow rising times and knead the dough thoroughly.
4. Can I use whole wheat flour instead of all-purpose flour?
Yes, you can substitute whole wheat flour for all-purpose flour, but it may result in denser bread. You may want to mix whole wheat flour with white flour for a lighter loaf or adjust the hydration.
5. How do I store homemade bread to keep it fresh?
To keep homemade bread fresh, store it in a bread box or wrap it in a clean cloth or plastic wrap at room temperature. Avoid refrigerating as it can dry the bread out faster, but freezing is a good option for long-term storage.